When we started making cheese, we packaged each retail wedge by coating it in wax. We burned our fingers a few times dipping the cheese, but packaging this way wasn’t too difficult. Then a few customers complained that the wax would crack and later they would find mold underneath. We decided to find another way to package our cheese.
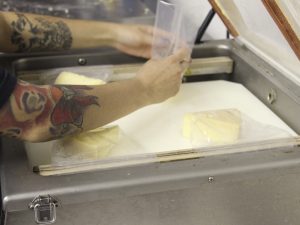
Some of our cheesemaker friends package by wrapping each wedge in cheese paper (like wax paper). However, wrapping wedges is time-consuming and the paper can be expensive. We decided to purchase a vacuum packing machine. The vacuum packer we purchased has two sealer bars. We can package up to six third-pound wedges, four half-pound wedges, or one wheel at a time.
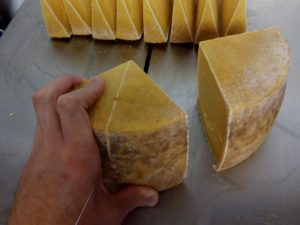
When we receive an order or if we have a farmers market coming up, we will take a wheel from our aging cooler (learn about our aging process in our last post). First, we scrub any excess mold off the rind using clean water. Then we let the wheel air dry. When a chef orders a whole wheel, we wrap whole wheels in freezer paper and then vacuum pack them. If we are cutting it into retail wedges, we use our wire cutter to break down the wheel.
If it is one of our classic cheeses, we cut each wheel into eight-ounce wedges. Our select cheeses we cut into six-ounce wedges. Our goal is to have $7-8 retail wedges for our farmers’ market customers. Because cheese making (and cutting) is an art, not an exact science, the wedge weights do vary. We also have wholesale customers that sometimes prefer smaller or larger wedges for their venues.
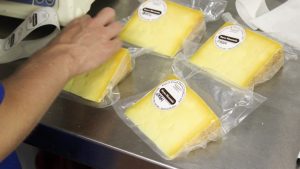
Once we vacuum pack the wedges, we place a label on each one. We put a batch number on each label to help us know when each wedge was produced. The batch number is just the production date in the European format: day, month, year. Each wedge is weighed and placed in our refrigerator until it is time to take it to market or pack it in a box for a delivery or shipment.
Are you enjoying these monthly posts about our cheese making process? Let us know in the comments below!
