There’s something special about gathering around the kitchen counter, watching cream transform into golden butter while little hands help and curious minds ask endless questions.
Making butter isn’t just about creating delicious food – it’s about slowing down, working together, and creating memories long after the last bite of buttered toast.
At Clover Creek Cheese Cellar, we believe the best butter comes from the finest cream, and there’s nothing quite like making it yourself.
Why Make Your Butter?
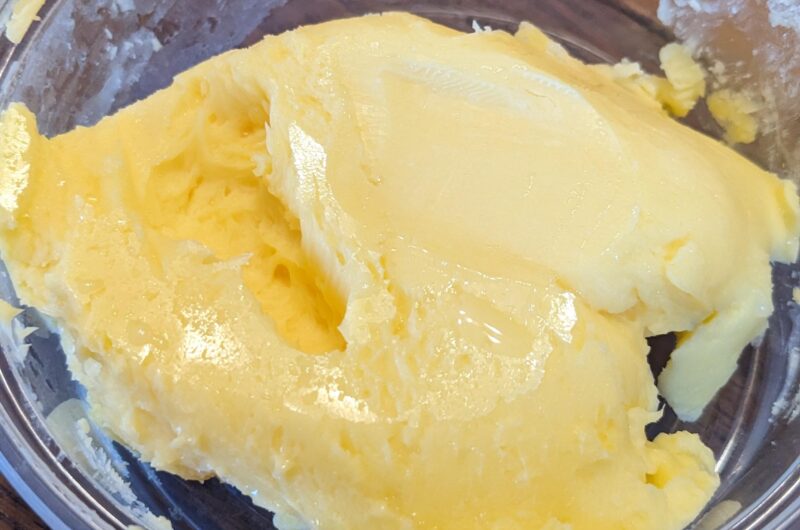
When you see that deep, golden color of real butter made from our raw cream, you’ll understand why store-bought butter pales in comparison.
Picture this: your kids’ or grandkids’ faces lighting up when they hear that magical “chugging” sound as the butter finally comes together. The excited squeals when they see the beautiful golden color emerge. The pride in their voices when they tell everyone, “We made this ourselves!”
What You’ll Need to Make Butter
- 1 quart of our fresh raw cream (top of the tank)
- Your trusty stand mixer, blender, or food processor
- A mesh strainer or cheesecloth
- A big bowl for the messy (but fun) parts
- Cold water
- Salt (optional)
- Patient hands and a willing heart
- Eager helpers of all sizes!
The Simple Process
Let your cream reach room temperature (50-60°F is ideal).
This temperature ensures the butter forms properly without becoming too soft or refusing to separate.
Pour the cream into your mixer, filling it only about one-third full (trust us on this, you’ll thank us when it doesn’t splash everywhere!).
You can try doing it by hand: put the cream in a mason jar and take turns shaking the jar to agitate the cream. This hands-on experience is only “fun” the first time.
Watch the transformation!
First, you’ll see whipped cream with peaks, then chunky whipped cream, and finally – the magic moment – the butterfat separates from the buttermilk with a distinct “chugging” sound.
The whole process only takes 10-20 minutes.
Strain out the precious buttermilk (save it for biscuits or pancakes!).
Rinse the butter thoroughly with cold water, pressing and folding 2-3 times until the water runs clear.
This step is crucial for preventing rancidity.
Knead the butter into a ball, draining off excess water.
Add salt to taste if desired, I usually aim for about 1% salt by weight.
The Result

Your homemade butter will keep in the refrigerator for up to 5 days or freeze for 9 months.
But let’s be honest, it probably won’t last that long!
One quart of our cream yields about a third of a pound of rich, golden butter that tastes like sunshine.
Once you’ve made it from our raw cream, you’ll never look at store-bought butter the same way again.
Spread it on warm bread, share it at family dinners, and don’t forget to tell the story of how you made it together.
And that’s the real magic we’re after here at Clover Creek.
Creating moments that become stories, stories that become traditions, traditions that bring us closer together.
How to Make Raw Butter at Home
4
servings30
minutes40
minutesIngredients
1 quart of our fresh raw cream (top of the tank)
Cold water
Salt (optional)
Directions
- Let your cream reach room temperature (50-60°F is ideal).
This temperature ensures the butter forms properly without becoming too soft or refusing to separate. - Pour the cream into your mixer, filling it only about one-third full (trust us on this, you’ll thank us when it doesn’t splash everywhere!).
You can try doing it by hand: put the cream in a mason jar and take turns shaking the jar to agitate the cream. This hands-on experience is only “fun” the first time. - Watch the transformation!
First, you’ll see whipped cream with peaks, then chunky whipped cream, and finally – the magic moment – the butterfat separates from the buttermilk with a distinct “chugging” sound.
The whole process only takes 10-20 minutes. - Strain out the precious buttermilk (save it for biscuits or pancakes!).
Rinse the butter thoroughly with cold water, pressing and folding 2-3 times until the water runs clear.
This step is crucial for preventing rancidity. - Knead the butter into a ball, draining off excess water.
Add salt to taste if desired, I usually aim for about 1% salt by weight.


0 Comments